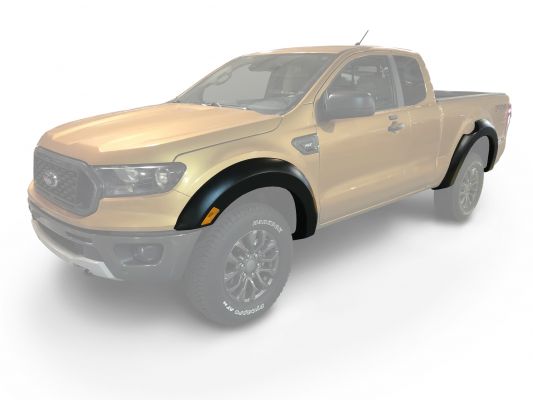
HOW TO FIT FORD RANGER WIDE ARCH FENDER FLARE KIT
Ford Ranger Fender Flares FAQ
The fender flare is a unique car accessory that serves as an extension of some trucks and SUVs. It fits right over the truck’s wheel and is uniquely designed to fit the car’s body lines.
Apart from adding a touch of style to your truck or SUV, a fender flare also helps conceal rust or any other damage around the wheel well. It also serves as a kind of shield against mud, rocks, and debris.
For DIY fender flare installation, you can follow these steps. However, they can be different for each manufacturer’s guide.
First of all, be sure that the flare fits your car perfectly. It is advisable to buy branded products, e.g. Ford Ranger Fender Flare that is designed especially for Ford vehicles. So there will be no problems with the size.
Well, lay the fender flare against the body of the car to see if it fits. For trucks originally not made with fender flares, you may need to drill the necessary holes in the body of the car. Now place the double-sided foam tape that accompanies the kit, on the back of the fender flare; be careful not to leave the second side opened, until you are ready to install. Before placing the fender flare on your truck, carefully remove the other side of the tape. Make sure the holes on the truck aligns with it. Lastly, tightly secure the bolts through the holes. Repeat this same process again for the other sides of the car.
Painting any fender flare should be done before the installation. The first step after buying the paint code specifically for your car is to make sure the outer surfaces of the fender flare is properly cleaned. Next is to sand the surface of the fender flare using a 200 grit sandpaper; be sure to wipe off any dust residue after sanding.
Then, use an adhesion promoter on the surface of the flare to treat it. Sand and wipe the surface again afterward. Accordingly, apply coats of polypropylene primer to the surface. After that, slowly apply the paint to the fender flare, using sweeping motions, until you get the satisfactory coverage; be sure to allow each coat to dry before adding more. The drying time for the paint depends on the paint type.

My name is Brandon, and I’ve been interested in cars since I was a kid. I got a bachelor’s degree in Automotive Technology and worked in a private car workshop. I have two cars that have been completely upgraded with my own hands. So I successfully put all my knowledge into practice.
Last update on 2026-02-03 / Affiliate links / Images from Amazon Product Advertising API
