Basic is boring. Little wonder why more and more people want to change things up with their cars, and quite admittedly, car window tinting is the new cool.
In a nutshell, window tinting is one of the ways you can enhance the appearance of a car. Aside from that, there are a lot of benefits of using car window tint.
The best car window tint is not just limited to making your car look more appealing. For instance, I would tint my car windows to protect myself from the heat coming from the sun while driving – I don’t want all that heat making me feel uncomfortable.
Also, utilizing the AC in a car consumes fuel so having your car window tinted would help minimize the usage of AC thereby reducing fuel consumption. As much as tinting might seem cool, it is essential to know the best window tint for cars.
What is the best window tint? You may ask. It’s a difficult one, and there’s no one-fit-all if you’re going to respond to that question. In this respect, I would say that all window tints have their benefits and disadvantages. That’s why a window tint comparison that focuses on five primary products will make things clearer.
I’ve checked the models below, and I understand their characteristics, advantages, and disadvantages to find the best car window tint for every need.
Car Window Tints Reviews
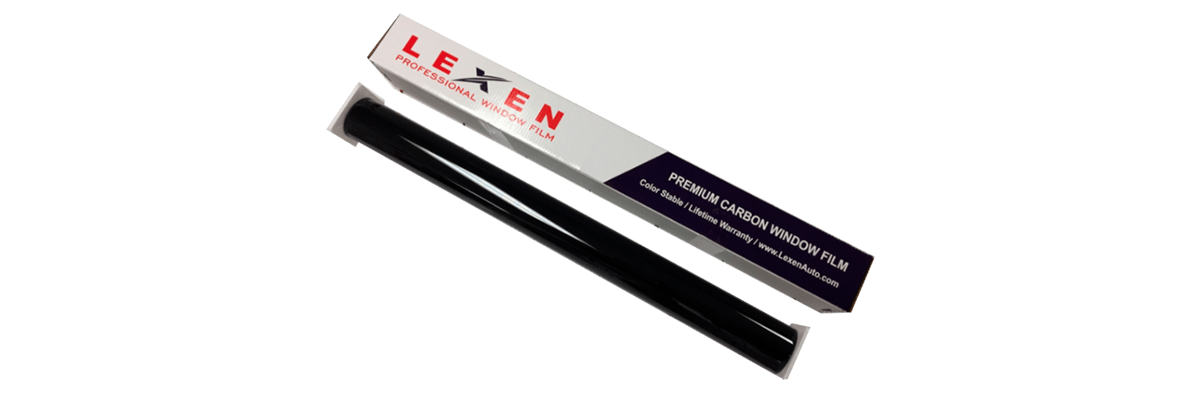
LEXEN 2Ply Economic Premium Carbon 20″

This model is one of Lexen’s leading products. The Lexen 2ply is certainly a great option if you’re looking for quality tint. One of the main characteristics of this item is its durability — it does not fade. The 2-ply layer protects against wear. The fact that heat is impenetrable against it makes it incredibly useful for your convenience and yet another excellent feature of this window tint to look out for.
It cuts off about 99% of ultraviolet rays that may adversely affect the skin or health. The Lexen 2ply permits the drivers to drive a vehicle without having to roll down the window or turn on the AC to keep the temperature cool. The 2-ply layer also provides more thickness which makes it easy to handle.
Pros
- Coating film provides proof against scraping.
- This window tint can be fixed effortlessly.
- It’s already in a pre-cut size which makes it effortless to fix.
Cons
- Limited color.
Gila Xtreme Limo Black 2.5% VLT

Want absolute privacy when driving in your car? Gila Xtreme limo black 2.5% VLT may be the solution. The 2.5% Visible Light Transmission is what makes this tint darker – the VLT determines how dark the tint is. If the VLT is low then the tint will be darker. It is potentially the best auto window tint in the market for those customers who value maximum privacy.
This window tint is extremely dark which makes it difficult for anyone to see through your car window thereby providing you the utmost privacy you desire. It wards off about 97.5% of light. The interesting thing about this is that it further helps lessen glares.
This item can be installed without the help of an expert, you can choose to install it yourself to reduce cost. Another major feature of this window tint is that it is made utilizing double-dye technology which prevents fading and makes it almost imperishable and long-lasting.
Pros
- Gives desired privacy.
- Prevents heat from entering the car.
- Very durable and reliable.
Cons
- It can only cover up to two windows.
- It comes in a small size.
LEXEN 2Ply Premium Carbon
The LEXEN 2Ply Premium Carbon offers a range of shade choices from 5% to 15% and from 35% to 50%. The tincture also has the capacity to shield as much as 99% of ultraviolet radiation. The carbon pigments help keep down heat penetration as well as prevent the color from fading over a lengthy period of time. The tint can be mounted without any kind of interference. Cutting it to fit the size of the window is likewise pretty easy.
However, if you haven’t fixed the tint of the window before, you might find it hard. It would be better to consult a specialist to save time. It is also essential that your window is without blemish before implementation in order to avoid flaking. The drawback, however, is that it creases rapidly if it is not correctly treated.
Pros
- Resistant to scratch.
- Easy application.
- Does not impede radio signals.
Cons
- Easily crumpled.
- Available only in black.
PROTINT WINDOWS 5% Shade Color 24″

This product can be used for a long time, helping save some money. It prevents up to 99% of UV rays from passing through. Besides, all customers have an opportunity to choose between 5% and 50% shade. This provides the leverage to find the desired shade depending on how the drivers want the window shade to look. Despite the color choice, it doesn’t affect the film’s shielding abilities against 99% of UV rays.
Even though this item has notable advantages, it could readily be crumpled during transport, making it hard to fix it on the vehicle. The most effective way to install the PROTINT WINDOWS is by using the assistance of an expert, as it might be hard to install. Also, using the Pro Tint 5% shade color is one way you can minimize the car’s fuel consumption.
Pros
- Can be used on different car windows.
- Averts heat from the sun.
- Available in many shades.
Cons
- Extra cutting work before installation.
- Can be easily creased.
Black Magic 5044827
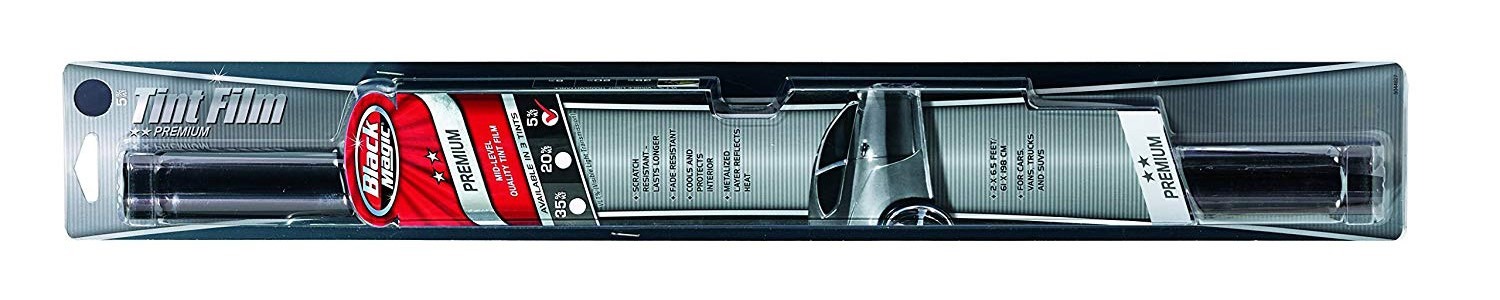
If you want a pocket-friendly window tint, then the Black Magic 5044827 might be the one for you. It comes in a roll that makes it simple to fix on any car window of choice, but the downside is that you get an additional job of cutting it to the appropriate car window size. This does not rule out the fact that it is easy to insert, mostly because you do not need to apply glue for the installation.
One important feature is that the Black Magic tint is recyclable and can be removed if necessary. In addition, this tint is not restricted to the use of cars alone. It can be used on trucks as well as on vehicles and can also be used at home. It has a 5% VLT which makes it more translucent than the other products.
Pros
- Inexpensive.
- Can be used on two car windows based on the size.
Cons
- It doesn’t come with any tool for application.
- Shade options are very limited.
Buyer’s Guide
Installing Window Tint
You can install your vehicle window tint without any professional assistance, and if you’re reading this, then I think you want to learn how to do that. First, why do you want your car windows tinted? Or what are the advantages of automobile window tinting?
The reason why you get a car window tint is to make your vehicle looks more privacy appealing. As I said previously, it also has distinct advantages. With changing one’s style, nothing is totally wrong. Tinting might not be so inexpensive, however, that is why the tint can be fixed to reduce costs. In order to achieve this, the tint needs to be handled properly to avoid its ruin. Below is a guide on how to install window tint:
- Have the necessary tools for application. The tools required are a cleaning product, blade or knife, a squeegee including a hot air gun.
- Ensure that the window is clean. You don’t want to have dirt on your window while fixing the tint because it messes things up and alters the final result. Make sure you clean the window many times with soap or with any good glass cleaners. Alternatively, you can utilize the blade in getting rid of dust completely from the window, particularly when you are indoors. There won’t be any dust particles settling on the glass after cleaning.
- Measure the car window. It is imperative to get the right window size before proceeding to cut the tint. It would be great to have extra tint on each side to be safe.
- Cut the tint. After taking the measurement of the window, then you can cut the tint to the standard size for each window. Sometimes, a few tints may have already been pre-cut, so, you could simply take on installing them effortlessly. It makes faster at the same time — you don’t have to measure nor cut it yourself. After cutting, go ahead and place the tint on each window — you can cut off excess tint.
- Fix the tint. Apply the solution on the exterior of your car window and even out the tint on the window while you place the protective-film layer face in an upward position. Use the squeegee to properly smooth it out. This prevents the tint from getting crumpled or you could apply the tint to the ends of the window with a clear tape then start taking off the protective liner. Do not forget to use the application solution on the sticky surface to remove it. After successful removal of the protective liner, detach the tint from the exterior of the glass and place it on its interior. Make absolutely sure the tint perfectly covers all the areas of the glass.
After that, sprinkle water on the window using the spray bottle, then proceed to use the squeegee to even it out again for an excellent result, preferably hot water. Ensure you wipe off excess water spills and solution left on the window.You can also use a heat gun on the solution to make it warm. Afterward, move the squeegee up and down the tint to get rid of the excess water and solution or any form of creasing. Be careful not to use any harsh cleaning materials that could cause the tint to fade out.
Removing Window Tint
When you no longer use your car window tint, you can remove it by means of a good number of techniques. I’ll show you how to remove window tint using various methods.
For the first one, a blade or knife, soap, clean towels, water, and a spray bottle will be necessary.
Step #1. Cut the film making use of the blade or knife proceed to remove the tint from the window.
Step #2. Use warm water to prepare a solution of warm soapy water in the spray bottle
Step #3. Sprinkle the solution all over the sticky parts of the glass. This will help get rid of I any adhesive remaining on the glass after you’ve taken off the film.
Step #4. Scrape the sticky parts of the window with the help of a blade or knife, while doing this, spray more soap to prevent it from drying up
Step #5. Now wipe the window clean using the clean towels and your job is done.
Note: This is one of the slowest methods.
Second method. For this, the tools required are a newspaper, soapy water, a blade, a sponge, and clean towels. However, this method is not so different from the first one. Here’s what you need to do.
Step #1. Prepare soap and water in a basin.
Step #2. Put the soapy water all over the window tint then spread the newspaper on the window and leave it to sit for about sixty minutes. When the water has dried up, you can apply more soapy water to maintain moisture.
Step #3. After you’ve let the newspaper sit for about 60 minutes, you should scrape off the tint and newspaper using the blade.
Third method. Use a hairdryer, soap, clean towels, and a blade. A dryer is a good substitute for a heat gun if you don’t have one.
Step #1. Use the dryer on the window for as long as you can start to peel off the tint with your razor blade.
Step #2. You can take off the tint while using the hairdryer on the tint.
Step #3. If there’s any adhesive left, make use of the towel to properly clean it off. Do this repeatedly until it comes off. If the adhesive is not coming off easily then use the hairdryer on it again.
Step #4. Use your soapy water and a clean towel to wipe off the window properly.

My name is Brandon, and I’ve been interested in cars since I was a kid. I got a bachelor’s degree in Automotive Technology and worked in a private car workshop. I have two cars that have been completely upgraded with my own hands. So I successfully put all my knowledge into practice.
Last update on 2023-02-17 / Affiliate links / Images from Amazon Product Advertising API